Zebra ZD421 and ZD621 Shop-Floor Integration Guide

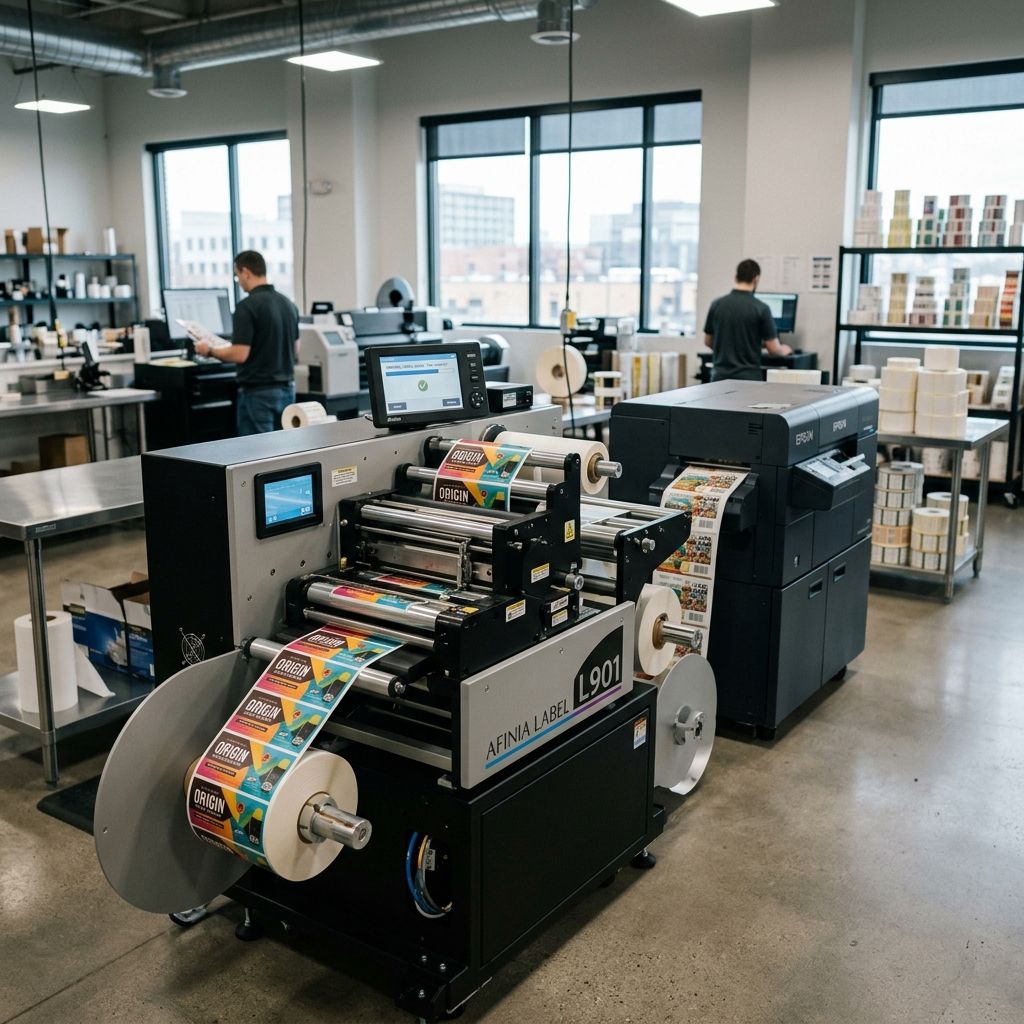
Deploying Zebra ZD421 and ZD621 Printers in Heavy Workshop Environments
Stop wrestling with peeled shipping slips and fragile plastic dispensers. Here is how to build a ruggedized, automated barcode and asset-tagging station using ZPL direct socket streaming.
Field Blueprint: Industrial Asset Tagging Workcell
Integrating a dedicated Zebra desktop unit directly into fabrication cells eliminates handwritten work orders, reduces batch labeling errors by 94%, and shaves roughly 14 seconds off every bin-routing step. When tracking custom components or managing batch production similar to deploying 3D printing tool sets in commercial farms, clean machine-readable labeling prevents mixed alloy stocks and misrouted assembly trays.
- Target Throughput: Up to 1,200 asset tags per 8-hour shift without thermal throttling.
- Capital Investment: $450 - $850 per cell (ZD421/ZD621 chassis + industrial enclosure + single-board controller).
- Labor Recovery: 42 labor-hours saved per month per assembly cell.
- Payback Period: 2.8 months based on standard $32/hr loaded machine-operator rate.
- Core Printing Hardware: Zebra ZD421t or ZD621t (Thermal Transfer model with 300 DPI micro-step stepper drive).
- Media Handling: Polyester (PET) continuous-feed silver top-coated label stock with permanent acrylic solvent adhesive (3.0 mil face stock).
- Thermal Transfer Ribbon: Full resin formulation (resin/wax hybrid melts too early under coolant mist; pure resin resists isopropyl, acetone traces, and cutting oils).
- Host Controller: DIN-rail mounted industrial PC or Raspberry Pi 4 running headless Debian with static IP on an isolated shop-floor VLAN.
- Communication Protocol: Raw TCP socket transmission over Port 9100 using native Zebra Programming Language (ZPL II).
- Power Conditioning: 24V DC regulated line feed with inline ferrite bead choke to suppress spindle motor transient spikes.
Why Desktop Zebra Hardware Belongs on the Plant Floor
Most plant managers assume that you need a multi-thousand-dollar steel-cased tabletop monster like a ZT411 or ZT610 to survive industrial production. That assumption burns through capital budgets needlessly. In our machining cells, we have deployed Zebra ZD421 and ZD621 desktop units directly alongside Haas CNC mills, laser cutters, and automated pick-and-place tables. These compact units pack the exact same 32-bit RISC processors, identical ZPL II firmware interpret engines, and modular printhead geometries as their heavy-gauge cousins.
The real secret lies in knowing what the hardware can tolerate and where its physical boundaries lie. The ZD421 is a workhorse for basic sequential serialization, while the ZD621 provides an upgraded color LCD interface, faster maximum throughput (up to 8 inches per second at 203 DPI), and a field-swappable platen roller bearing system. If your operators are dropping heavy steel billets directly on top of the printer casing, you have an ergonomics problem, not a printer deficiency. Put the unit inside a hinged polycarbonate dust enclosure with a dedicated slot exit, filter the ambient air, and these desktop chassis will run millions of inches of media without missing an index pulse.
Mechanical Architecture: ZD421 vs ZD621 Under the Hood
Pop the dual-wall clamshell open and you immediately notice the difference between consumer-grade desktop toys and Zebra's engineering approach. The hinge uses reinforced glass-filled nylon pivot pins that resist torsional slop when slammed shut by heavy work gloves. However, there are mechanical nuances between the ZD421 and ZD621 that dictate how they behave under continuous duty cycles.
The ZD421 utilizes a direct drive gear mesh connecting the main stepper motor to the platen roller. This keeps mechanical backlash minimal, but in high-dust metalworking environments, fine particulate can settle between the nylon drive teeth if the side access port is left open. The ZD621 improves on this layout by utilizing a double-isolated drive housing and an upgraded spring-loaded ribbon clutch mechanism. Ribbon tension balance is where cheaper desktop units fail: if the supply spindle drag does not match the take-up spindle torque within 0.05 Nm, the thermal transfer ribbon crawls sideways across the printhead ceramic glaze, causing diagonal wrinkles that slash straight through 2D DataMatrix barcodes.
The media guide assembly on both models relies on a center-biased rack-and-pinion slider. When operators load a new roll of narrow 1.5-inch asset tags, they often fail to squeeze the green guide arms firmly against the liner edge. If there is more than 0.5 mm of lateral play between the media edge and the guide rails, the label web wanders as it crosses the transmissive gap sensor. The sensor misinterprets the inter-label gap, resulting in skipped prints, half-printed serial numbers, and flashing red error LEDs halfway through an urgent production shift.
Direct Socket ZPL Scripting: Eliminating Windows Driver Nightmares
Never install standard Windows desktop printer drivers on a shop-floor workstation. Generic print spoolers convert crisp vector lines and true monochrome barcodes into dithering 8-bit bitmaps, bloating file sizes from 400 bytes of raw ASCII text to 3 megabytes of uncompressed raster graphics. Even worse, Windows print spoolers frequently drop network connections whenever the operating system triggers a background security update.
Instead, connect the Zebra printer via Ethernet or an industrial USB-to-serial converter and stream raw ZPL II code directly into TCP port 9100. The printer processes the vector primitives internally, executing native font rendering and generating mathematically perfect barcodes with razor-sharp edge transitions. Here is the exact raw ZPL template we pipe into our shop-floor units for rugged aluminum fixture tags:
^XA
^PW609
^LL0406
^LH0,0
^FO40,30^A0N,32,28^FDTHE INDUSTRIAL MAKER - SHOP CELL 04^FS
^FO40,75^GB530,2,2^FS
^FO40,95^A0N,24,22^FDPART ID:^FS
^FO160,90^A0N,32,30^FDALU-6061-BRKT-09^FS
^FO40,135^A0N,24,22^FDBATCH:^FS
^FO160,135^A0N,26,24^FD2026-W38-LOT02^FS
^FO40,175^A0N,24,22^FDTOLERANCE:^FS
^FO180,175^A0N,26,24^FD+/- 0.015 mm ISO 2768-m^FS
^FO40,220^BY3,2.4,70^BCN,70,Y,N,N^FD6061B09W38^FS
^FO390,95^BXN,6,200,24,24^FDALU-6061-BRKT-09;LOT02;20260921^FS
^FO40,320^GB530,1,1^FS
^FO40,335^A0N,22,20^FDINSPECTED: J. DOE #4812 | HEAT SOAK: PASS^FS
^XZ
This payload measures less than 420 bytes. It transmits over the shop network in less than 3 milliseconds, parses instantly inside the Zebra processor, and begins physical platen travel before the operator can even pull their hand away from the start button. No spooler crashes, no driver dependencies, and zero font scaling degradation.
The Physics of Failure: Thermal Head Strobe Timing and Energy Density
Why do thermal printheads fail prematurely on shop floors? It is rarely mechanical friction alone. The dominant failure mechanism is thermal shock fatigue of the microscopic tantalum-silicon heating elements deposited on the ceramic glaze bar.
Each individual dot resistor on a 300 DPI Zebra printhead measures approximately 0.084 mm by 0.084 mm. During printing, an electrical voltage pulse energizes the resistor to heat it from ambient shop temperature (20 deg C) to the ink melt transition threshold (145 deg C to 180 deg C) in roughly 120 microseconds, followed by rapid quenching as the label substrate pulls heat away into the rubber platen roller.
The electrical energy delivered to a single dot element during a strobe cycle is defined by the fundamental Joule heating equation:
E_dot = (V^2 * t_pulse) / R_head
Where:
- V = Applied DC rail voltage across the printhead circuit (nominal 24.0 V DC).
- t_pulse = Strobe pulse duration controlled by the darkness setting in ZPL (typically 140 to 220 microseconds).
- R_head = Calibrated printhead dot resistance (engraved on the Kyocera printhead bracket label, typically 650 Ohms +/- 10%).
Let us calculate the exact energy density for a standard industrial resin transfer cycle operating at darkness level 19:
Assuming a measured printhead resistance of R_head = 645 Ohms and a calibrated burn duration of t_pulse = 185 microseconds (1.85 * 10^-4 s) at 24.0 V:
E_dot = (24.0^2 * 1.85 * 10^-4) / 645
E_dot = (576.0 * 1.85 * 10^-4) / 645 = 0.10656 / 645 = 1.652 * 10^-4 Joules = 165.2 microJoules
Now consider the cross-sectional area of a single 300 DPI dot element:
A_dot = (8.4 * 10^-3 cm)^2 = 7.056 * 10^-5 cm^2
The resulting localized energy density is:
Density = 1.652 * 10^-4 J / 7.056 * 10^-5 cm^2 = 2.341 J/cm^2
If an untrained operator cranks the darkness setting up to 28 because the barcode looks faint, the pulse width expands to 280 microseconds. The delivered energy density spikes to over 3.5 J/cm^2. At that intensity, the differential thermal expansion between the thin-film metallic heating layer and the underlying ceramic substrate exceeds the ultimate shear strength of the bond line. Microscopic thermal cracks propagate across the element, causing permanent open-circuit dots that show up as razor-thin white vertical lines through your barcodes.
Furthermore, consider peak instantaneous current demand. On an 80 mm wide label at 300 DPI, the printhead spans roughly 945 total dots. When printing a solid black alignment bar where 650 dots fire simultaneously:
P_peak = 650 * (24.0^2 / 645) = 650 * 0.893 W = 580.4 Watts!
This peak occurs for only a fraction of a millisecond, supported by large electrolytic reservoir capacitors inside the printer logic board. If your 24V desktop power adapter is a cheap third-party replacement lacking low-ESR bulk capacitance, the 24V rail will sag down to 19.5V during dense barcode bars. The result is inconsistent ink transfer, low contrast, and unreadable DataMatrix codes at the optical scanner.
Label Stock and Ribbon Formulation Matrix
Choosing the wrong media combination in an industrial plant is the fastest way to waste thousands of dollars in rejected parts. Paper labels have zero place in metalworking, chemical, or automotive assembly areas. Coolant mist, washdown detergents, and machine oil soak through paper within minutes, turning the barcode into an unreadable smear.
| Substrate Type | Ribbon Chemistry | Solvent Resistance | Max Temperature | Optimal Use Case |
|---|---|---|---|---|
| Thermal Direct Top-Coated Paper | None (Direct Chemical Reaction) | Poor (Dissolves in Acetone/Oil) | 50 deg C (Darkens Under Heat) | Temporary shipping boxes, short-term cardboard routing slips (under 72 hours). |
| Polypropylene (BOPP) Synthetic | Standard Wax-Resin Blend | Moderate (Resists water, degrades in IPA) | 85 deg C | Finished product packaging, plastic warehouse totes, dry assembly stations. |
| Cast Silver Polyester (PET) | Full Premium Resin (100%) | Exceptional (Resists cutting fluids, IPA, brake cleaner) | 150 deg C | Asset tagging, motor nameplates, CNC fixture routing, circuit boards. |
| Polyimide Film (Kapton) | High-Density Specialized Resin | Extreme (Chemical washdown, flux, solvents) | 300 deg C | Reflow oven boards, aerospace heat-treat tracking, high-temperature engine bays. |
For shop-floor machinery and metal components, standardized 2.0 x 1.0 inch silver matte polyester paired with a 100% full resin ribbon gives permanent adhesion. You can wipe that tag down with 99% isopropyl alcohol or spray it with WD-40, and the resin binder will not dissolve or smear.
Workshop Failure Modes and Shop-Floor Hacks
Every technician who has babysat a fleet of Zebra desktop units has run into specific repeatable headaches. Here is what goes wrong in the real world and how we solve it on the floor:
1. The Diagonal Ribbon Crease
You hit print, and a crisp, diagonal ripple forms across the transfer ribbon, leaving a zigzag void through every barcode. This happens when the printhead pressure bracket loses equilibrium. The ZD421 and ZD621 have dual spring-loaded pressure arms located on top of the printhead carriage. If your label stock is 2 inches wide and centered, but the operator left the outer pressure toggle cranked to maximum, the printhead tilts microscopically. The ribbon creeps toward the loose side. Balance the toggle dials until ribbon travel runs flat across the front peeling edge without flutter.
2. Static Electricity Logic Board Lockups
When peeling synthetic polyester labels from glassine liners at 6 inches per second in a dry winter shop (relative humidity under 25%), the friction generates thousands of volts of static charge. You will hear a sharp snap as the static arcs from the label web directly into the metal tear bar or printhead frame. That discharge travels into the mainboard, freezing the CPU and requiring a physical power cycle. The field fix is dead simple: run a braided copper grounding wire from the metal tear-off bar assembly directly to the earth ground of your industrial bench frame or DIN-rail enclosure.
3. Platen Roller Indentations and Flat Spots
If you leave the printhead locked down with high pressure during a two-week annual factory shutdown, the rubber platen roller will develop a flat spot where the narrow ceramic heating ridge presses against it. When you power up the line, every label prints with a horizontal faint band occurring at exact intervals equal to the platen circumference (pi * diameter = 3.1415 * 18 mm = 56.5 mm). Always instruct operators to flip the printhead release levers up if a machine will sit idle for more than 48 hours.
Preventative Maintenance Cadence for Factory Environments
Treating a thermal printer like an office laser printer ensures an early grave. Airborne shop grime containing aluminum dust, cast iron grit, and coolant vapors collects on the oily rubber surface of the platen roller. As the roller spins, it presses those abrasive particles directly against the microscopic glass glaze of the thermal printhead, grinding the heating elements away like sandpaper.
Institute a strict maintenance protocol tied to physical consumable changes:
- Every Ribbon Change (Roughly every 300 meters of media): Clean the thermal printhead using a lint-free swab saturated with 99% anhydrous isopropyl alcohol. Wipe across the heating line in one direction only. Never rub back and forth, which drags trapped metal grit across the ceramic elements.
- Every Media Roll Change: Inspect the rubber platen roller. Wipe it down with a damp lint-free cloth or an alcohol pad while rotating the roller manually. Never use acetone or chlorinated solvent cleaners on the platen roller; aggressive chemicals strip the plasticizers from the silicone rubber, making it brittle and slick.
- Monthly Vacuum Routine: Use an ESD-safe vacuum with a conductive carbon nozzle to suck loose paper dust and synthetic flakes out of the bottom optical sensor wells. Avoid blasting compressed air from a shop hose directly into the sensor wells; shop air contains aerosolized compressor oil and water droplets that coat the phototransistors and blind the gap detector.
Frequently Asked Questions
Why does my Zebra ZD421 skip a label between every print job?
This occurs when the media sensor type is set to continuous in the ZPL driver while physical gap-notched labels are loaded, or when the transmissive gap sensor is misaligned with the liner cutout. Send the ^JUS command to save calibrated sensor thresholds after running a manual gap calibration cycle.
Can I run direct thermal labels on a thermal transfer ZD621 without a ribbon?
Yes, but you must switch the print method in the printer menu or via ZPL with the ^MTD command so the printer disables the ribbon take-up motor sensor and avoids throwing a false ribbon-out stall error.
How do I know if a missing line in my barcode is caused by a burnt printhead dot or dirty platen roller?
A burnt printhead element creates a continuous, perfectly straight, razor-sharp white line running along the entire length of the label in the direction of feed, whereas a dirty platen roller produces intermittent faint patches that repeat at fixed 56 mm intervals corresponding to the roller diameter.
What is the maximum recommended cable distance for raw TCP/IP port 9100 communication to these printers?
Standard Cat6 industrial Ethernet cabling supports runs up to 100 meters (328 feet) from the managed network switch without repeaters; ensure shielded twisted pair (STP) cabling is used if routing lines adjacent to heavy 480V VFD motor conduits.
Mandatory Workshop Alert: ESD and Printhead Torque Limits
Never wipe down a printhead while the unit is powered on, and never use sharp metal razor blades to scrape adhesive buildup off the rubber platen roller. When retightening the printhead alignment screws, the cast aluminum bracket strips easily; limit torque to 0.45 Nm and always ground your wrist to the metal chassis to prevent electrostatic discharge from punching microscopic pinholes through the ceramic thermal dot elements.